Using Azure AI Search as a Copilot Studio Generative Answers Knowledge Source
Azure AI Search is a powerful search engine that can be used to search for information in a large collection of documents. It can use any of the Azure OpenAI Models and can be used to search for information in a wide range of domains. In this article, we will show you how to use Azure AI Search as a Copilot Studio Knowledge Source for Generative Answers.
More information about this topic is found in the Copilot Studio Documentation
Table of Contents
Pre-requisites
To use Azure AI Search as a Copilot Studio Generative Answers Knowledge Source, you will need to have an Azure account. If you don't have an Azure account, you can create one for free at https://azure.microsoft.com/.
Create an Azure Open AI Service
Detailed instructions are here
NOTE You will need the Azure OpenAI Resource name and API key to connect Copilot Studio to Azure Open AI. You can find this information in the Azure portal under your Azure Open AI service.
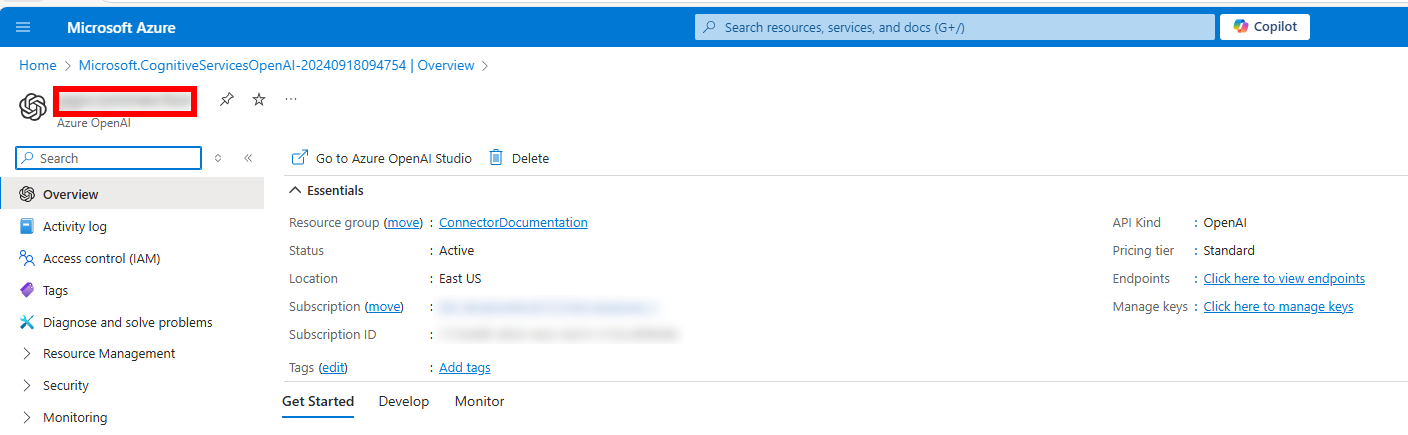
Azure Open AI Resource Name
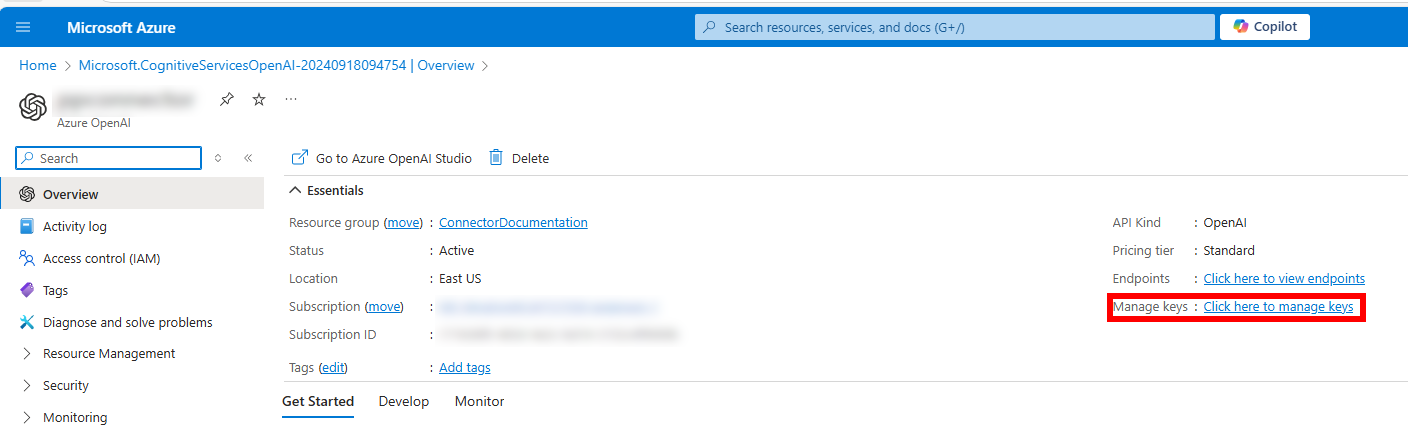
Azure Open AI API Manage Keys
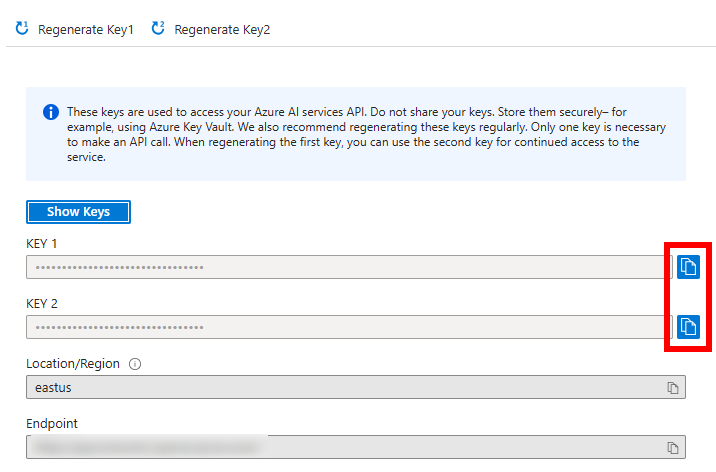
Azure Open AI API Key
Create an Azure Open AI Deployment
Detailed instructions are here
Deploy both a completion model (for example, gpt-35-turbo-16k) and an embedding model (for example, text-embedding-ada-002).
NOTE You will need the deployment names to connect Copilot Studio to Azure Open AI. You can find this information in the Azure OpenAI Studio portal or the Azure AI Studio portal portal under Deployments.
Create an Azure AI Search Service
Detailed instructions are here
NOTE You will need the endpoint URL and API key to connect Copilot Studio to Azure Open AI Search. You can find this information in the Azure portal under your Azure Open AI Search service.
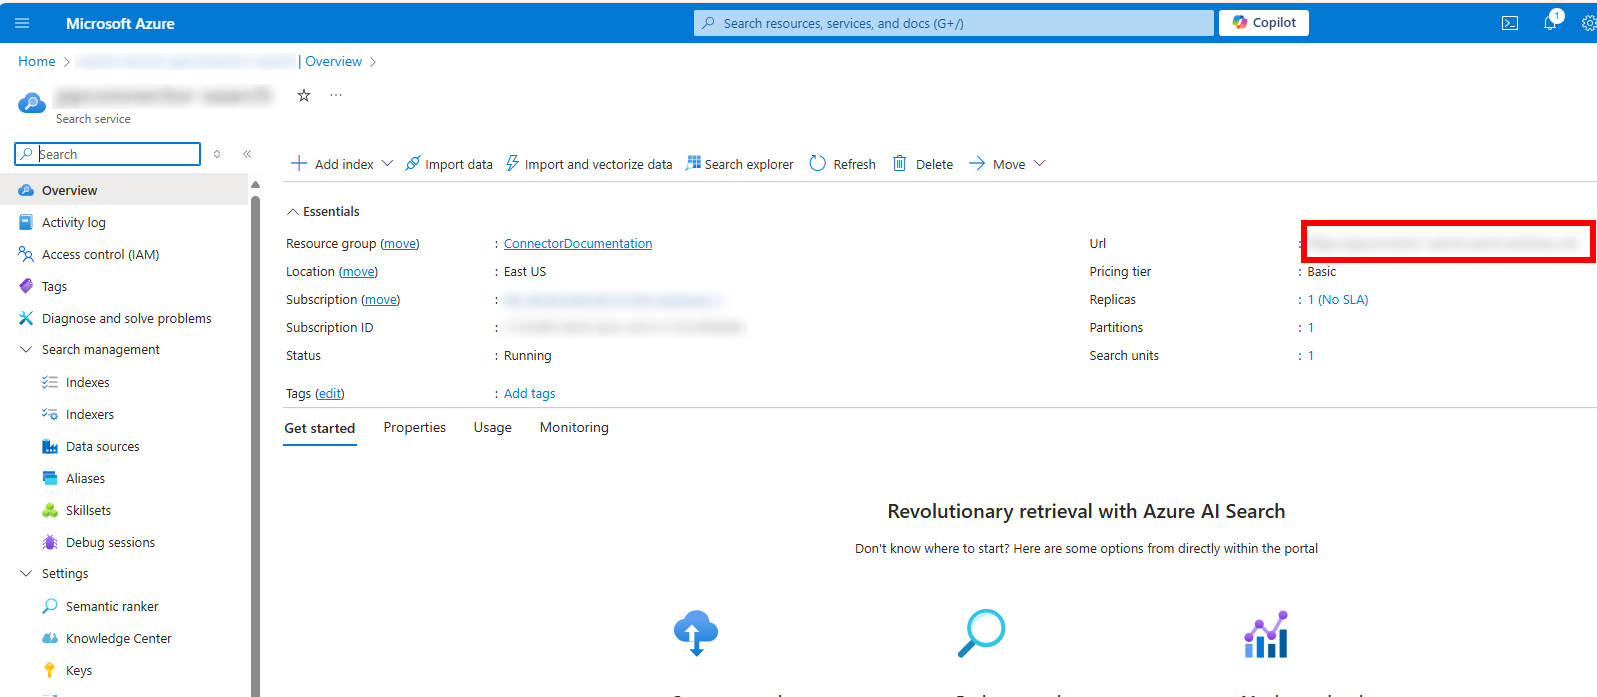
Azure AI Search Endpoint URL
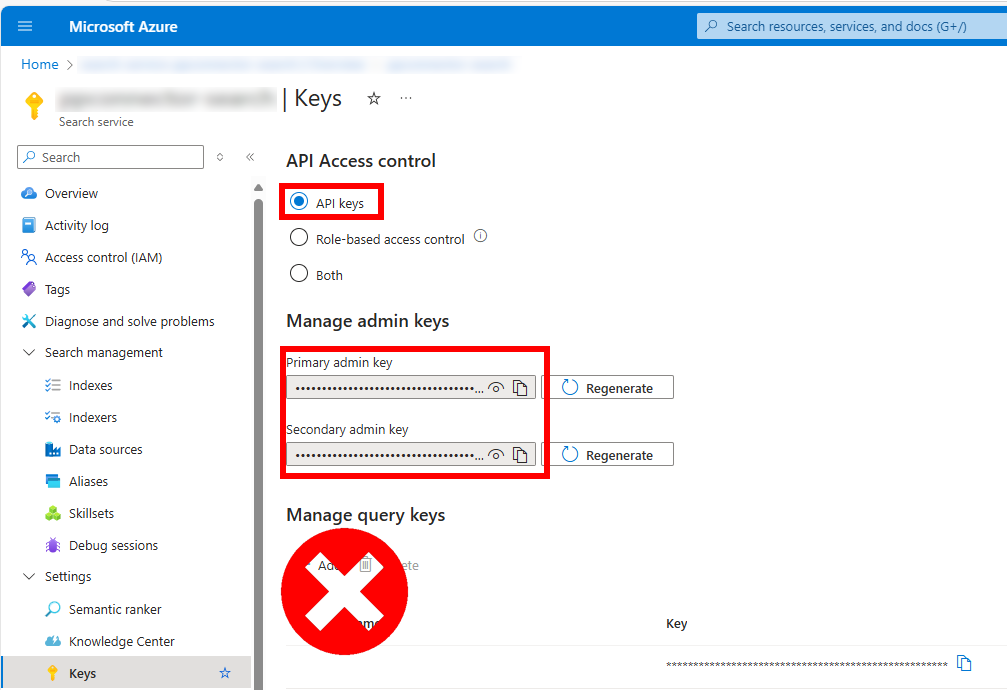
Azure AI Search API Key
NOTE The API Key must be one of the two main keys. A Query key will not work.
Create an Index in Azure AI Search
Detailed instructions are here
Once the index is created, you will see it listed in the Azure AI Search service indexes.
Connect Copilot Studio Generative Answers to Azure AI Search
To connect Copilot Studio Generative Answers to Azure Open AI Search, follow these steps:
Step 1: Create a connection to Azure AI Search
To connect Copilot Studio Generative Answers to Azure AI Search, you will need to create a connection in the Power Apps Portal. To do this, follow these steps:
- Go to the Power Apps Portal at https://make.powerapps.com/.
- Click on the "Connections" tab in the left-hand navigation pane.
NOTE If you don't see the "Connections" tab, click on the "More" tab and then click on the "Connections" tab.
- Click on the "New connection" button.
- Search for "Azure OpenAI" in the search bar.
- Click on the "Azure OpenAI" connection.
- Click on the "Create" button.
- Enter your Azure OpenAI resource name and API key.
NOTE: You can find your Azure OpenAI resource name and API key in the Azure portal under your Azure OpenAI Search service. See here.
- Enter your Azure Cognitive Search endpoint URL and API key.
NOTE: This is the whole URL - You can find your Azure Cognitive Search endpoint URL and API key in the Azure portal 1nder your Azure Open AI Search service. See here.
NOTE The API Key must be one of the two main keys. A Query key will not work.
- Click on the "Create" button.
- Once the connection is created, you will see it listed in the "Connections" tab.
NOTE It's always a good idea to rename the connection to something more meaningful and descriptive to make it easier to find later in Copilot Studio.
Step 2: Connect a Generative Answers Knowledge Source
To connect a Generative Answers Knowledge Source to Azure AI Search, follow these steps:
- Go to the Copilot Studio portal at https://copilotstudio.microsoft.com/.
- Choose the appropriate environment from the drop-down list in the top right corner.
- Create a new copilot or open an existing one.
- Navigate to the "Conversation Boosting" topic.
- In the "Create generative answers" node, choose the ellipses in the top-right corner and select "Properties".
- In the "Properties" pane, expand the "Classic data" section.
- Navigate to the "Azure OpenAI Services on your data" section.
- Click on the "Add connection" button.
- Select the connection you created in Step 1.
- Click on the "Connection properties" button.
- Under the "General" tab, enter the following information:
- Deployment: Enter the name of the completions deployment you created in Azure OpenAI (e.g.
gpt-35-turbo-16k).
- Api version: 2024-02-15-preview (confirm this is correct - see below).
- Maximum tokens in response: 800 (optional).
- Temperature: 0.7 (optional).
- Top P: 0.95 (optional).
- Stop sequence: (not required).
- Under the "Model data" tab, click the "Add button" to add a data source and enter the following information (for an easy way to find these values, see below):
- Index name: Enter the name of the index you created in Azure OpenAI Search.
- Title: Enter the name of the title field in the index. (default
title)
- URL: Enter the name of the field containing the URL for the retrieved content. (default
metadata_storage_path)
- File name: Enter the name of the field containing the file name for the retrieved content. (default blank)
- Content data: enter the name(s) of the field(s) that contain the content retrieved. Press enter or the
+ button after each field name. (default is chunk)
- Vector data: enter the name(s) of the field(s) that contain the vector data for this chunk. Press enter or the
+ button after each field name. (default is text_vector)
- Embedding deployment name: Enter the name of the embedding deployment you created above.
- Semantic search configuration: Enter the name of the semantic search configuration associated with the index you created above.
- Query type: Enter the type of query to be used for the search. (default
semantic)
- System message: Enter the prompt to be passed to the Azure Open AI Service. (default
You are an AI assistant that helps people find information.)
Limit responses to your data content: Should the model limit its responses to only the content retrieved (default blank)
Strictness: The strictness of the search relevance filtering (range: 1 to 5). Higher strictness results in higher precision but lower recall of the answer. (default blank)
Top N documents: The number of top documents to feature for a query. (default blank)
- Click on the "Save" button.
Finding the Connection Parameters
To easily find the raining connection parameters, follow these steps:
- Go to the Azure OpenAI Studio portal at https://oai.azure.com/.
- Click on the "Chat" button in the left hand navigation pane.
- Choose the completions deployment you created above.
- Click on the "Add your data" button and click the "Add a data source" button.
- Select "Azure Ai Search" as the data source and choose the Search service and Search index.
- Click the "Next" button.
- Leave the Search type as "Semantic" and select the semantic configuration from the dropdown.
- Click the "Next" button.
- Change the Authentication type to "API key"
- Click the "Next" button.
- Click the "Save and close" button.
- Click the "View code" button
- Choose a language from the dropdown and examine the code generated. All of the connection parameters are in the code. If you cannot quickly find one of the parameters, one of the other languages may make it more obvious.
Step 3: Test the Connection
To test the connection, follow these steps:
- In the "Copilot Studio UI" node, click on the "Test" button if the test pane is not visible"
- Ask a question that can be answered by your Azure AI Search data source.